
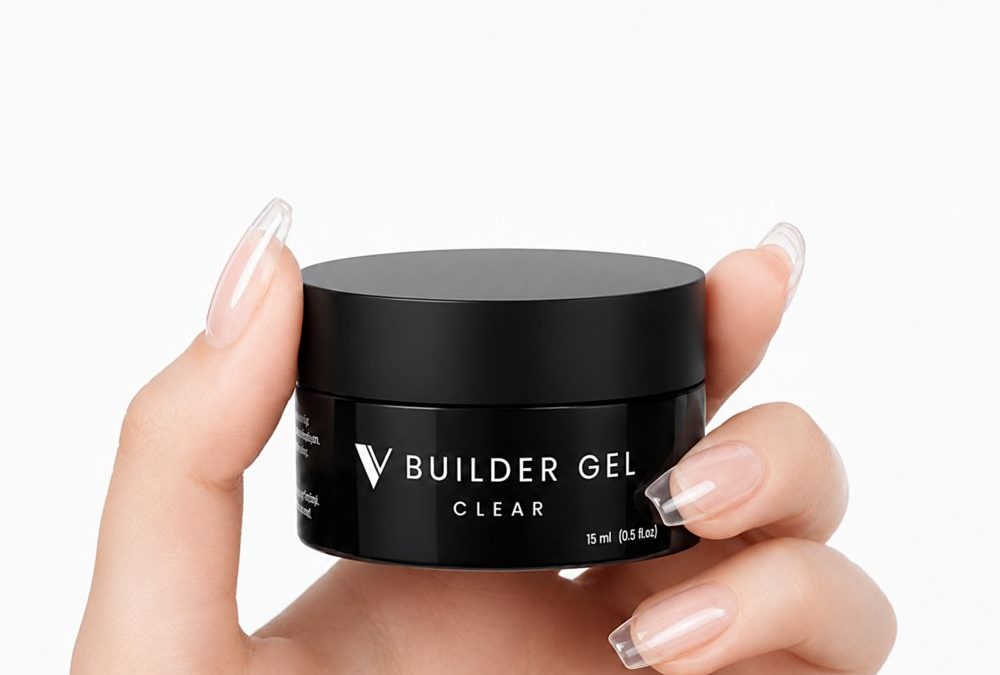
Myth: bridal nails need opaque color to photograph well. The truth is a crystal-clear extension reads clean, timeless, and ultra-photogenic when you manage structure and shine correctly. These quick wins focus on using V Beauty Pure Builder Gel – Clear to create transparent, glass-like bridal extensions fast and reliably.
How to prep for flawless transparency
- Start with fully dehydrated, lightly buffed natural nails. A matte anchor helps the clear gel seat without trapped oils.
- Map the apex with a fine pencil or ink-free marker so your structural placement stays centered under thin, translucent layers.
- Use a thin, low-tack primer only where adhesion is needed; avoid flooding the whole nail with primer to preserve clarity.
How to use medium-viscosity control to shape quickly
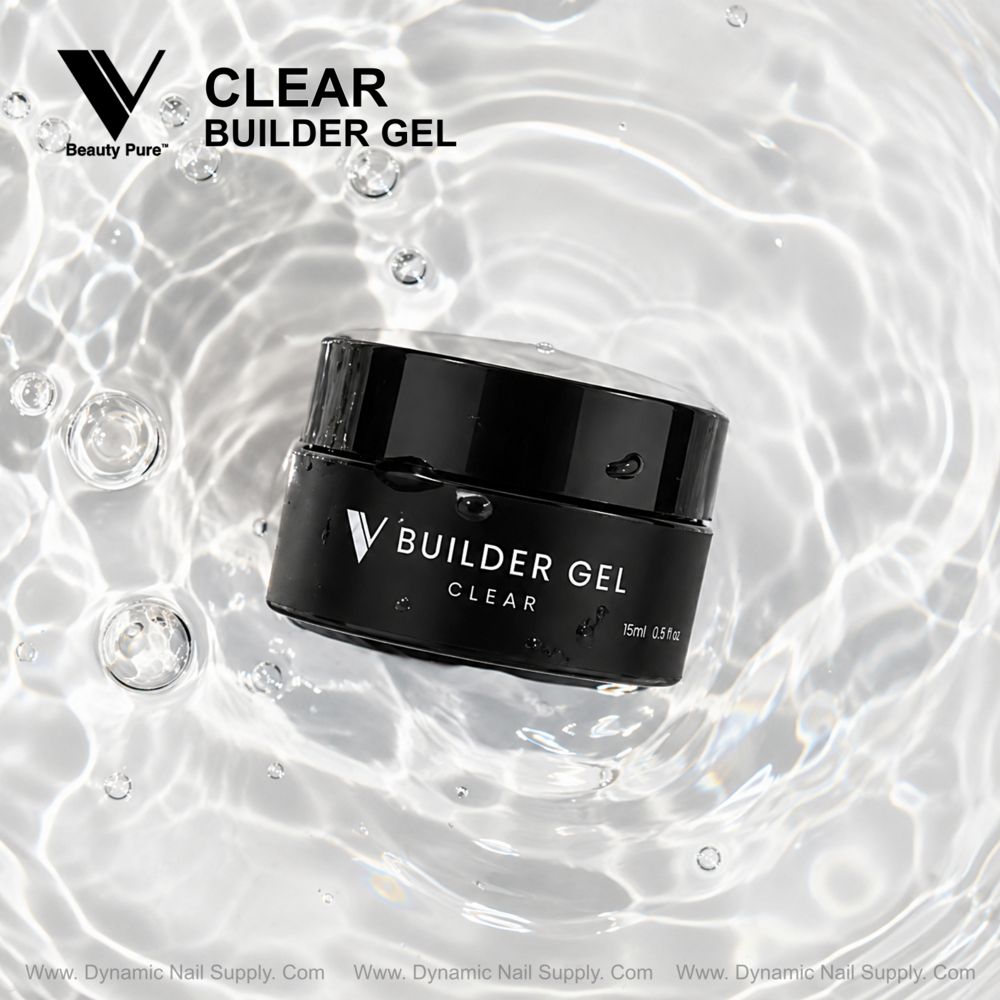
V Beauty Pure Builder Gel – Clear has a medium viscosity that balances placement and self-leveling. For bridal glass nails, work in controlled beads:
- Place a small bead at the apex and a second bead toward the free edge if you need length.
- Gently sweep the beads together with a firm, hydrated brush to sculpt the apex; the product’s flow will smooth the surface without losing shape.
- Cure in short cycles when building layers—this keeps edges clean and prevents sagging while you refine form.
How to minimize finish filing and maximize gloss
- Let the self-leveling action do the heavy lifting. Apply slightly thicker beads in one pass to reduce cross-filing later.
- After final cure, remove the inhibition layer with an alcohol wipe and inspect under direct light to spot tiny ridges.
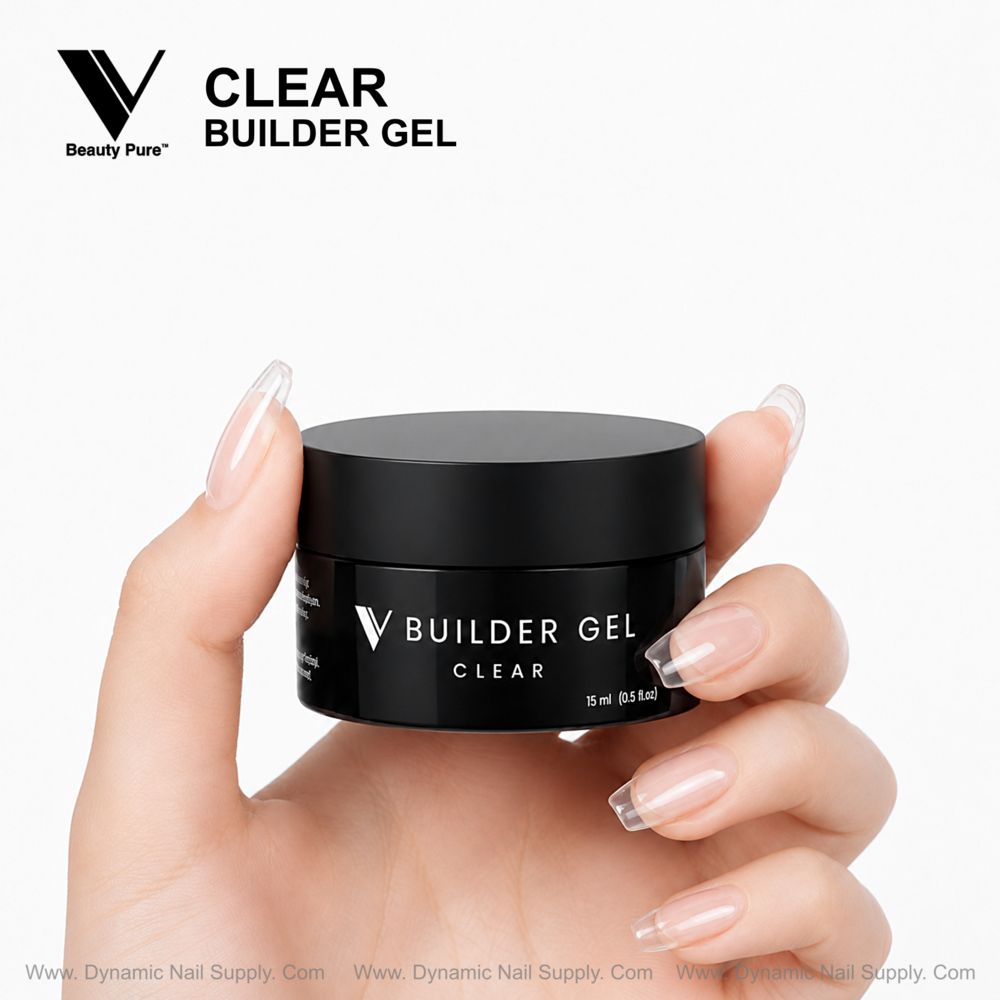
- Finish with a minimal buff and a single-layer high-gloss top coat if extra mirror shine is needed; the clear gel cures to a glass-like surface on its own.
How to encapsulate bridal details cleanly
For veil-ready encapsulation—dried flowers, micro-glitter or foil fragments—place art flat on the tacky layer, then encapsulate with a thin sealing bead of clear. Use the self-leveling property to avoid trapped air pockets and cure fully before polishing edges.
How to speed up service without sacrificing strength
- Work in zones: pin the thumb and ring finger first, cure, then move to remaining fingers to keep flow consistent and reduce client chair time.
- When using forms for length, build a strong, thin apex rather than layering bulky product—structure, not thickness, maintains clarity and comfort.
- If you need a quick repair, feather a narrow bead over the break and cure; the hard-gel strength locks in without clouding the surface.
How to keep your station bridal-ready
- Store jars sealed, upright, and away from direct LED lamp exposure to preserve consistency and shine.
- Label open jars with date and discard within your salon’s safe-use window to prevent contamination.
- Use black or neutral mats during application—the contrast helps judge edge clarity against warm skin tones like in the product photo.
Best for
- Minimalist transparent extensions for wedding photos
- Encapsulating delicate bridal elements (flowers, foil)
- Structured overlays that keep a natural nail look
Not ideal for
- Services requiring opaque, pigmented coverage only
- Technicians who prefer ultra-fluid brush-on base gels for very thin layering
- Applications where heavy sculpting is desired without finishing
Safety notes: avoid curing with product on skin; use proper LED/UV lamp recommended for hard gels and follow manufacturer lamp times. Keep lids closed between uses and clean brushes after each service to prevent contamination.
Quick practical note: V Beauty Pure Builder Gel – Clear is a salon-friendly option for bridal sets and is often stocked at a competitive price around $24.74 (prices may change). For a fast, veil-ready upgrade to your bridal offerings grab your jar now: https://dynamicnailsupply.com/products/clear-v-beauty-pure-builder-gel-by-dynamic-nail-supply-official-distributor
These small adjustments—precise beads, controlled curing, and careful encapsulation—let you deliver glass-like, photo-ready bridal nails consistently. Go make a bride feel luminous.